Arm setup
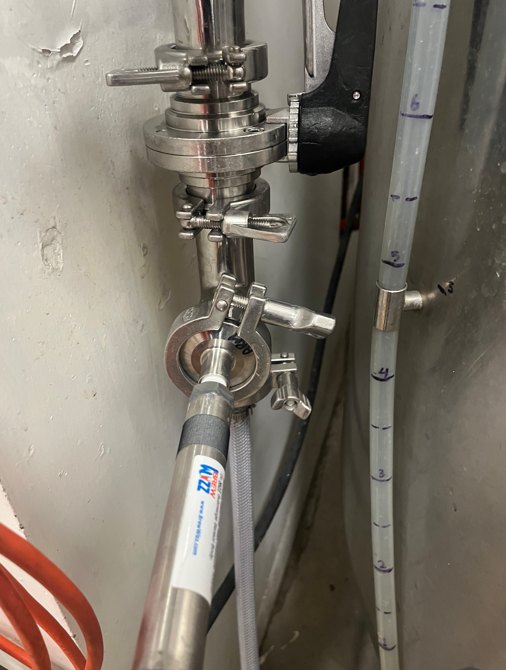
- Connects at the CIP arm with the supplied tri-clamp tee
- Pressurizes the brite faster, so it keeps up with higher-capacity filling lines
- Does not compensate for hydrostatic pressure
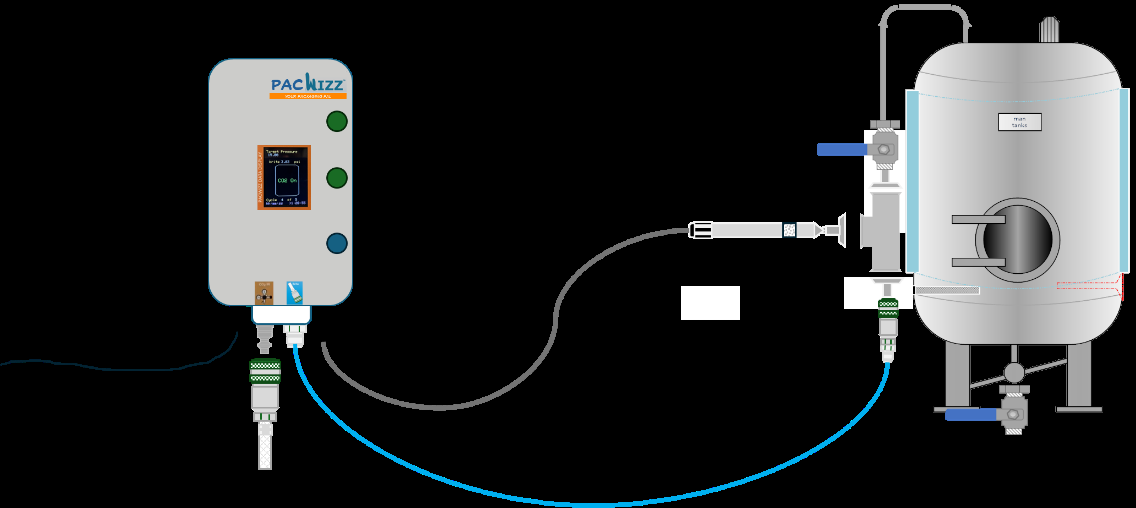
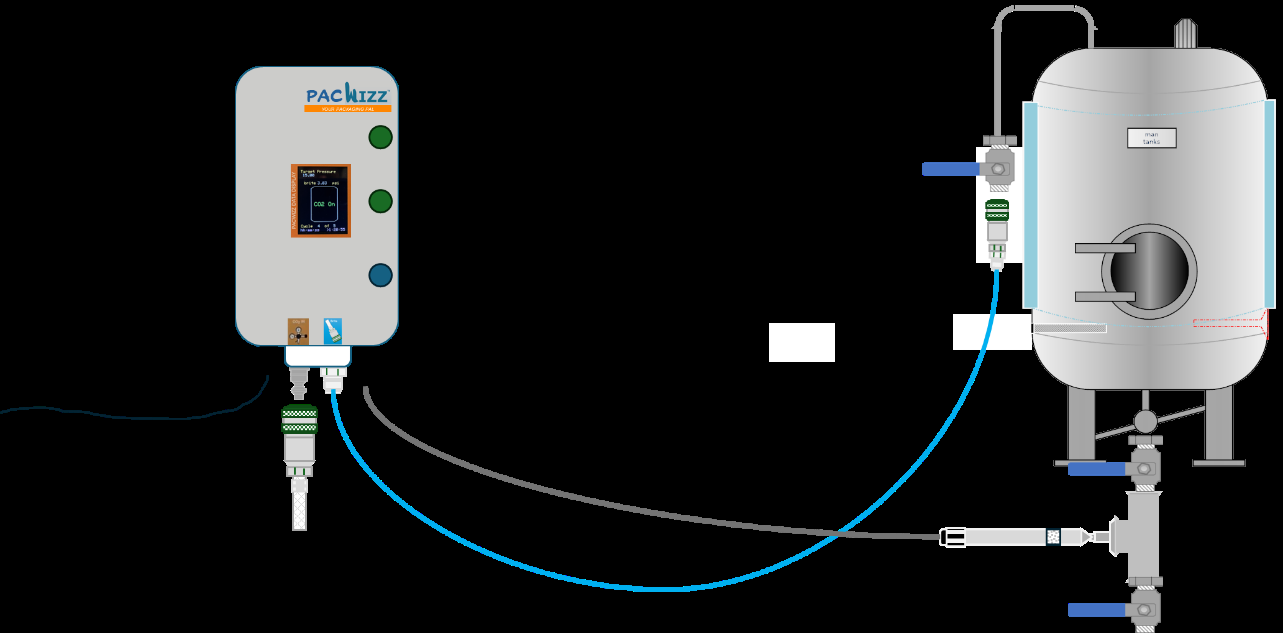
There are two ways to connect the PacWizz to a brite tank for packaging. Both deliver higher gas replacement than the FizzWizz in standard packaging mode, and both use the tri-clamp tee fitting supplied in the kit.

The arm setup is quicker to rig. The foot setup does more: it reads the real pressure at the bottom of the tank, so the PacWizz compensates for hydrostatic pressure for you.
Connecting at the CIP arm speeds up pressurization of the brite during packaging, which means the PacWizz can keep up with higher-capacity filling lines than the FizzWizz. This setup does not compensate for hydrostatic pressure: for that, use the foot setup.


Fit tank-side isolation valves on the CIP arm connection and at the foot of the brite, so you can isolate the tank and hold its pressure if you need to pause packaging.
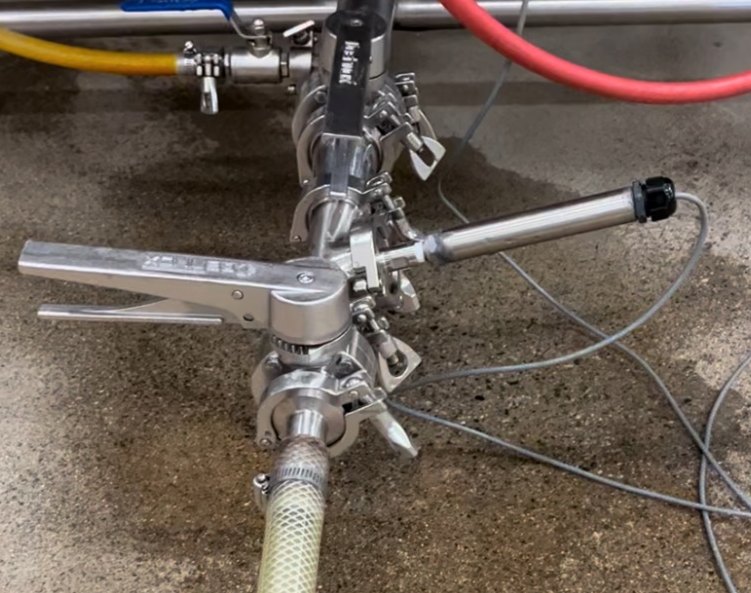
This setup is better than the arm setup, if a little less convenient. The Foot Pressure Sensor sits at the bottom of the brite between two butterfly isolation valves, one either side of the sensor, and the PacWizz uses its reading to decide when to add gas to the headspace.


The tank-side isolation valve must be open while you pressurize the tank. If it is closed, the pressure relief valve will trigger.
Route the sensor cable with care. It can be a trip hazard. Run it where it cannot be stepped on or caught, to protect both the sensor and the operator.
Good to know: the PacWizz does not vent in packaging mode.

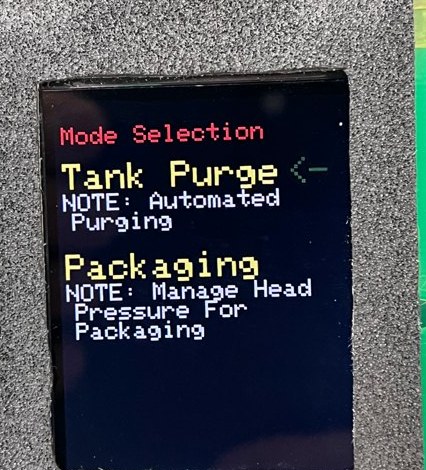
The purging version runs your purge procedure, works out the oxygen left in the tank and checks it for leaks when it is done.